How to Apply Reflective Sheeting for Helmet Stickers: A DIY Guide?

Ever wished you could boost your helmet’s visibility, especially during nighttime rides? I know I have! Cycling at dusk or dawn, or even in low-light urban areas, always made me a little nervous. That’s why I started exploring reflective sheeting for my helmet – and now, I’m sharing my experience with you. This how-to guide will take you through the process, from choosing the right materials to achieving a professional-looking finish. Let’s make those helmets shine!
Applying reflective sheeting to your helmet is a straightforward process that significantly improves your safety. This guide provides a step-by-step walkthrough, covering material selection, application techniques, and troubleshooting tips to ensure a successful and long-lasting result. We’ll tackle everything from prepping your helmet to finishing touches.
Before we dive into the specifics, it’s crucial to understand why this DIY project is worth your time. Reflective sheeting offers a cost-effective way to upgrade your helmet’s visibility, increasing your safety and peace of mind on the road.
[Claim]: This guide provides a comprehensive and practical approach to applying reflective sheeting to helmets, ensuring readers can safely and effectively enhance their helmet’s visibility.
Choosing the Right Reflective Sheeting: What Material Works Best?
Picking the right reflective material is the foundation of a successful project. There’s a surprising variety out there, and understanding the differences is key. I’ll share what I learned from hours of research and experimentation!
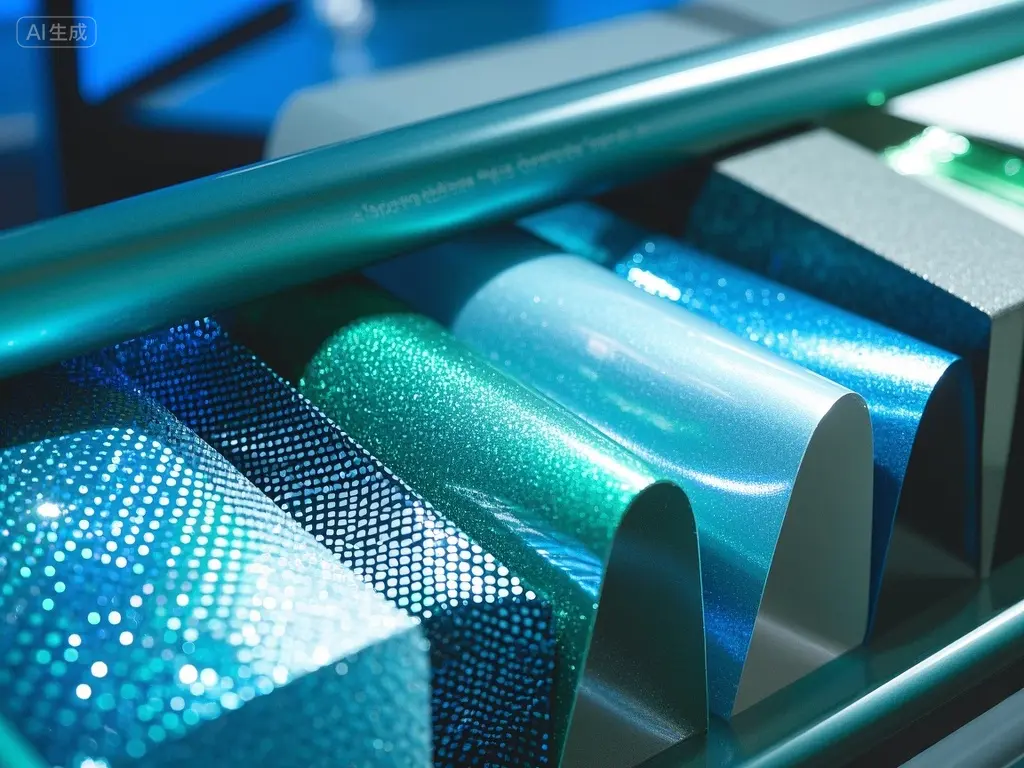
Different materials offer varying degrees of reflectivity, durability, and flexibility. We’ll explore the pros and cons of popular options like Scotchlite™, vinyl, and other types of reflective film to help you select the best material for your helmet.

Initially, I was overwhelmed by the choices. Scotchlite™ seemed popular, but it’s also pricier. I tested a few cheaper vinyl options, and while they worked, the reflectivity wasn’t as strong, and some peeled after a few weeks. Ultimately, I found a balance between price and quality. The key is to read reviews and look for materials with strong adhesive and good weather resistance.
The selection of reflective sheeting significantly impacts the final product’s visibility and durability. Choosing a high-quality, weather-resistant material is crucial for a long-lasting effect.
Preparing Your Helmet and the Reflective Sheeting: How to Prep for Success?
Before you even think about applying the sheeting, preparation is vital. A rushed job will lead to a messy, uneven finish that could compromise its reflectivity. Think of this as the foundation of a beautiful house—you wouldn’t skip the groundwork, would you?
Thorough cleaning of the helmet surface and precise cutting of the reflective material are key to a successful application. We’ll cover cleaning techniques, pattern creation (if needed), and preventing air bubbles during application.

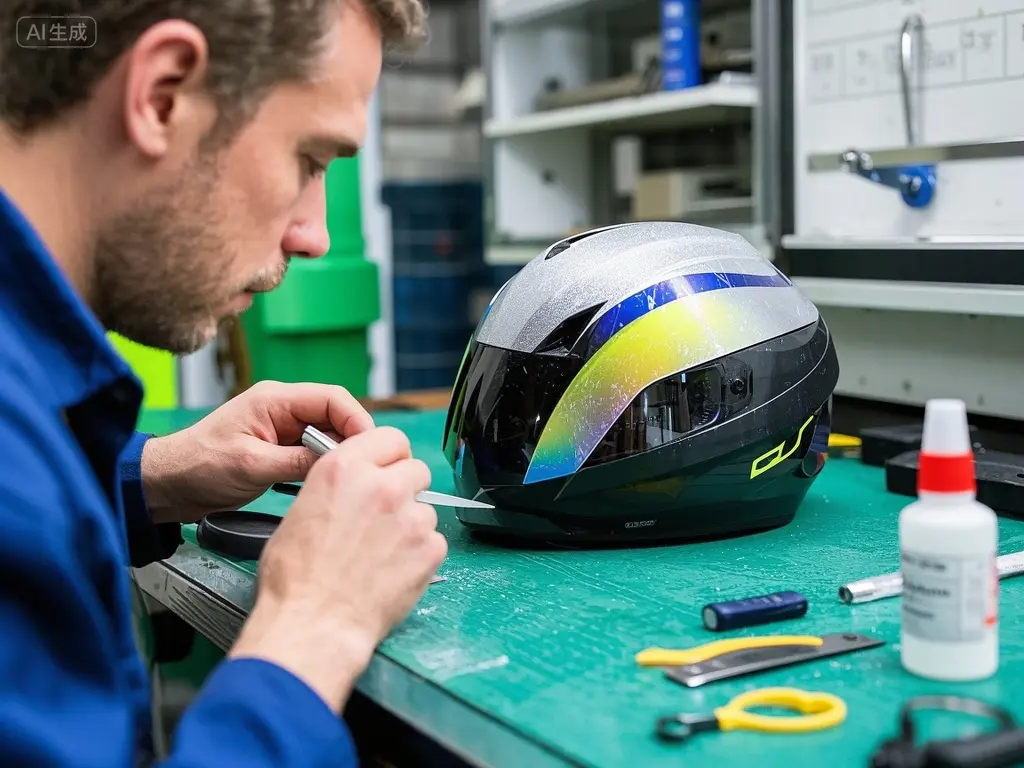
I learned the hard way that a dirty helmet surface is the enemy of a good bond. I used a degreaser to remove any grease or oil, then carefully wiped it down with isopropyl alcohol. For intricate designs, I used a stencil and a sharp blade for precise cuts. A hair dryer came in handy for manipulating the film during application, removing small wrinkles and bubbles.
Proper preparation of both the helmet and the reflective sheeting is essential for optimal adhesion and a professional-looking finish, ensuring maximum reflectivity and longevity.
Applying the Reflective Sheeting: A Step-by-Step Guide?
This is the exciting part! With your materials prepped, let’s get this sheeting onto your helmet. It’s easier than you think, and I’ll walk you through every step, so you feel confident throughout.
This section will provide a detailed, step-by-step guide with images to help you effortlessly apply the reflective sheeting to your helmet, ensuring a smooth, bubble-free finish.

I’ve applied reflective materials before, and let me tell you, the key is patience. Work slowly, peel the backing off gradually, and use a squeegee or credit card to smooth out any bubbles. If you get any air bubbles, carefully lift the edge of the sheeting and try again. A little heat from a hairdryer can help with stubborn areas.
Following these step-by-step instructions ensures a seamless and efficient application of the reflective sheeting, resulting in an improved and safer helmet.
Finishing Touches and Maintenance: How to Keep Your Helmet Reflective?
Even after application, there are a few things you can do to ensure longevity and maximum reflectivity. A little extra care goes a long way.
This section provides practical tips for maintaining the reflective sheeting’s performance, covering cleaning methods and addressing common issues such as peeling or damage.

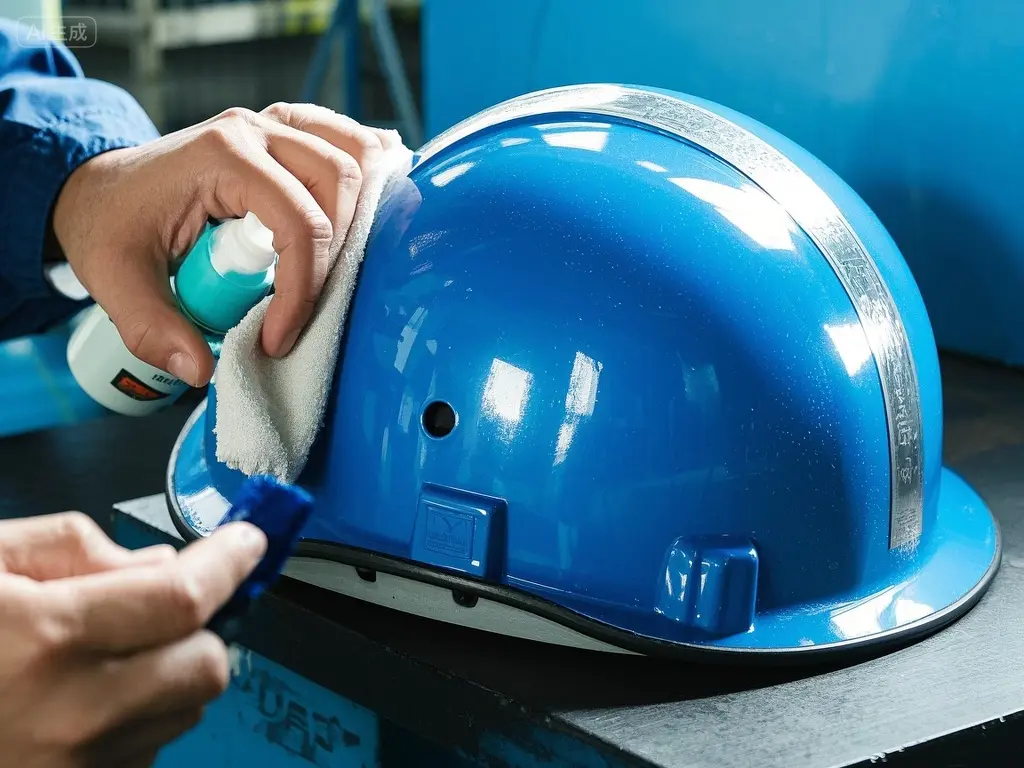
Regular cleaning with a mild detergent and a soft cloth will keep your helmet looking new. Avoid harsh chemicals and abrasive cleaners. And, if a small area peels, you can usually lift the loose edge and reapply with a bit of adhesive.
Proper maintenance of the reflective sheeting maximizes its lifespan and reflectivity, keeping your helmet visible and safe for an extended period.
Conclusion
Applying reflective sheeting to your helmet is a relatively simple yet impactful DIY project that dramatically enhances your safety. By carefully following these steps and choosing high-quality materials, you can significantly improve your visibility on the road, giving you peace of mind during your rides. Remember, safety is paramount – so invest the time and effort to get it right!
[External links recommendation] (Link to a reputable supplier of reflective sheeting)
FAQs
Q1: What type of adhesive is best for reflective sheeting on helmets?
A1: A strong, weather-resistant adhesive is crucial. Look for materials specifically designed for outdoor use. Pressure-sensitive adhesives often work well but check reviews to ensure they’re suitable for helmet materials.
Q2: Can I apply reflective sheeting over existing paint or decals on my helmet?
A2: Ideally, apply to a clean, smooth surface. Existing decals or textured surfaces can hinder adhesion. Thorough cleaning is essential. If you must apply over existing elements, ensure the surface is completely clean and dry.
Q3: How long does reflective sheeting last on a helmet?
A3: The lifespan depends on the quality of the material and how well it’s maintained. High-quality sheeting with a robust adhesive can last for several years with proper care.
Q4: Can I wash my helmet after applying reflective sheeting?
A4: Yes, but use mild soap and water, and avoid abrasive cleaners or high-pressure washing. Allow it to air dry completely.
Q5: What if the reflective sheeting gets scratched or damaged?
A5: Minor scratches might not significantly affect reflectivity. For more serious damage, carefully assess the area. Small tears might be repairable with additional adhesive. Larger damage may require replacing the affected section.

